Process
From prompt to final render, one honest step at a time. No magic — just the moves that repeat.
Prompt to Final Render
How a rough generation becomes a finished, production-ready image — the five moves I make every time.
- FLUX.1
- ControlNet (depth)
- img2img
- Ultimate SD Upscale
- Photoshop
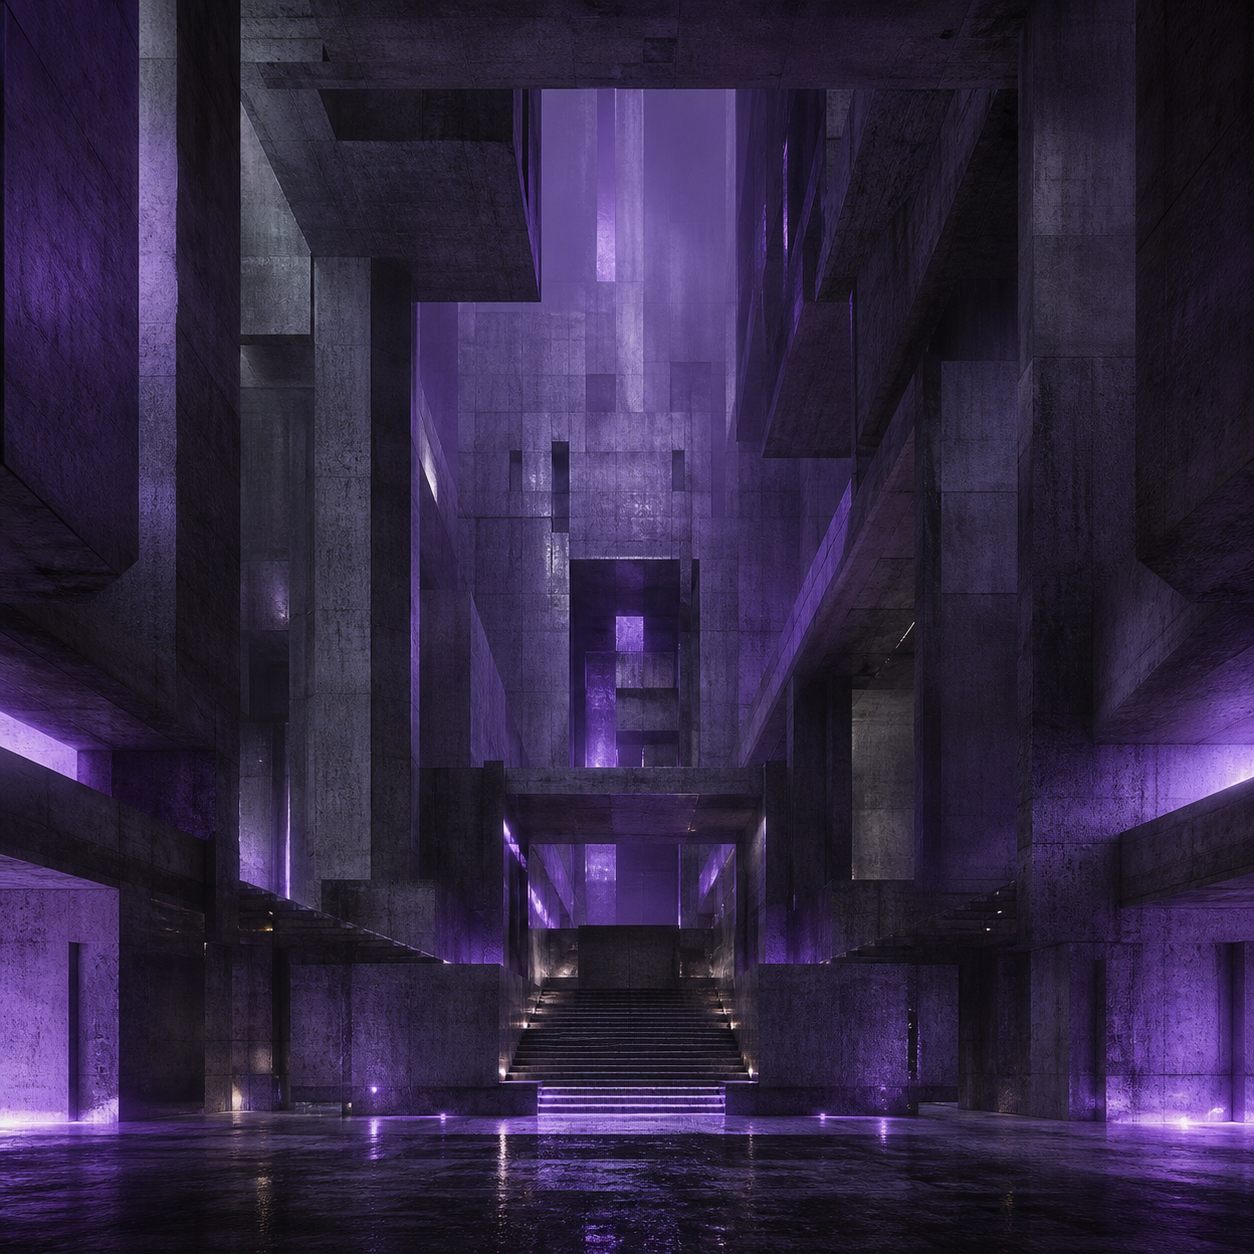 1FLUX.1
Draft the idea
Start loose. A short, structured prompt — subject, setting, light, mood — and a batch of seeds. The goal is not a good image yet; it is to find a frame worth developing.
Watch out: Over-writing the prompt. Long prompts fight themselves; add detail once you know which frame you are chasing.
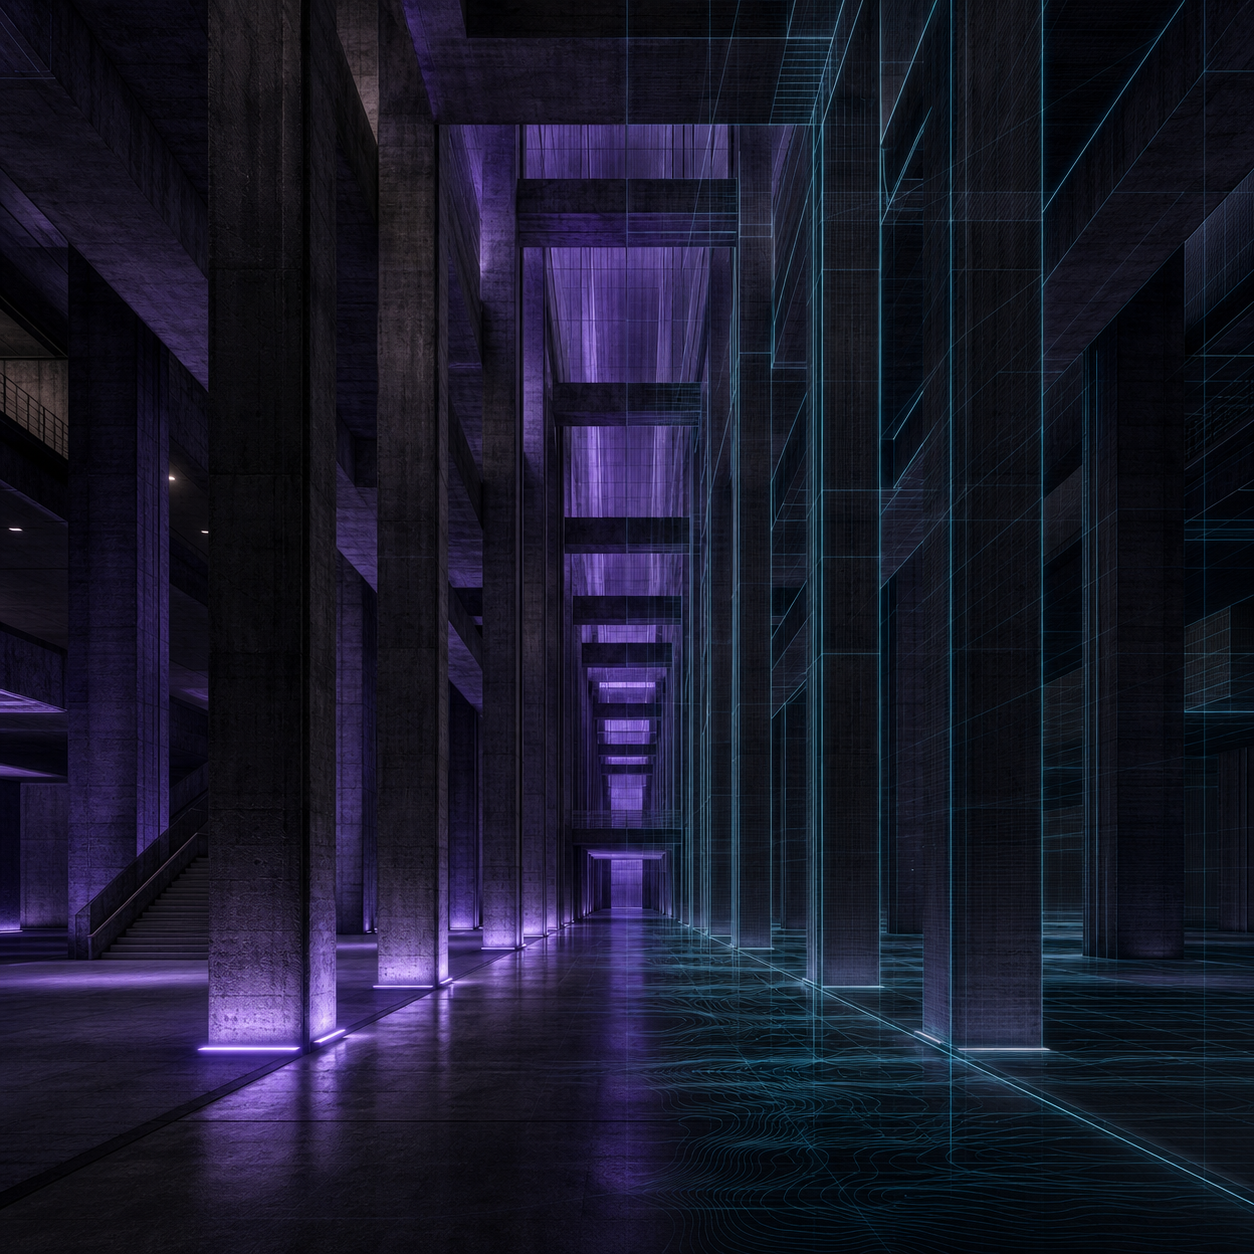 2ControlNet (depth)
Take control
Lock the composition with a control pass. A depth ControlNet keeps the architecture straight and the perspective honest so the model stops reinventing the room every seed.
Watch out: Cranking control weight to 1.0 — it flattens the light. Keep it around 0.5–0.7 and let the model breathe.
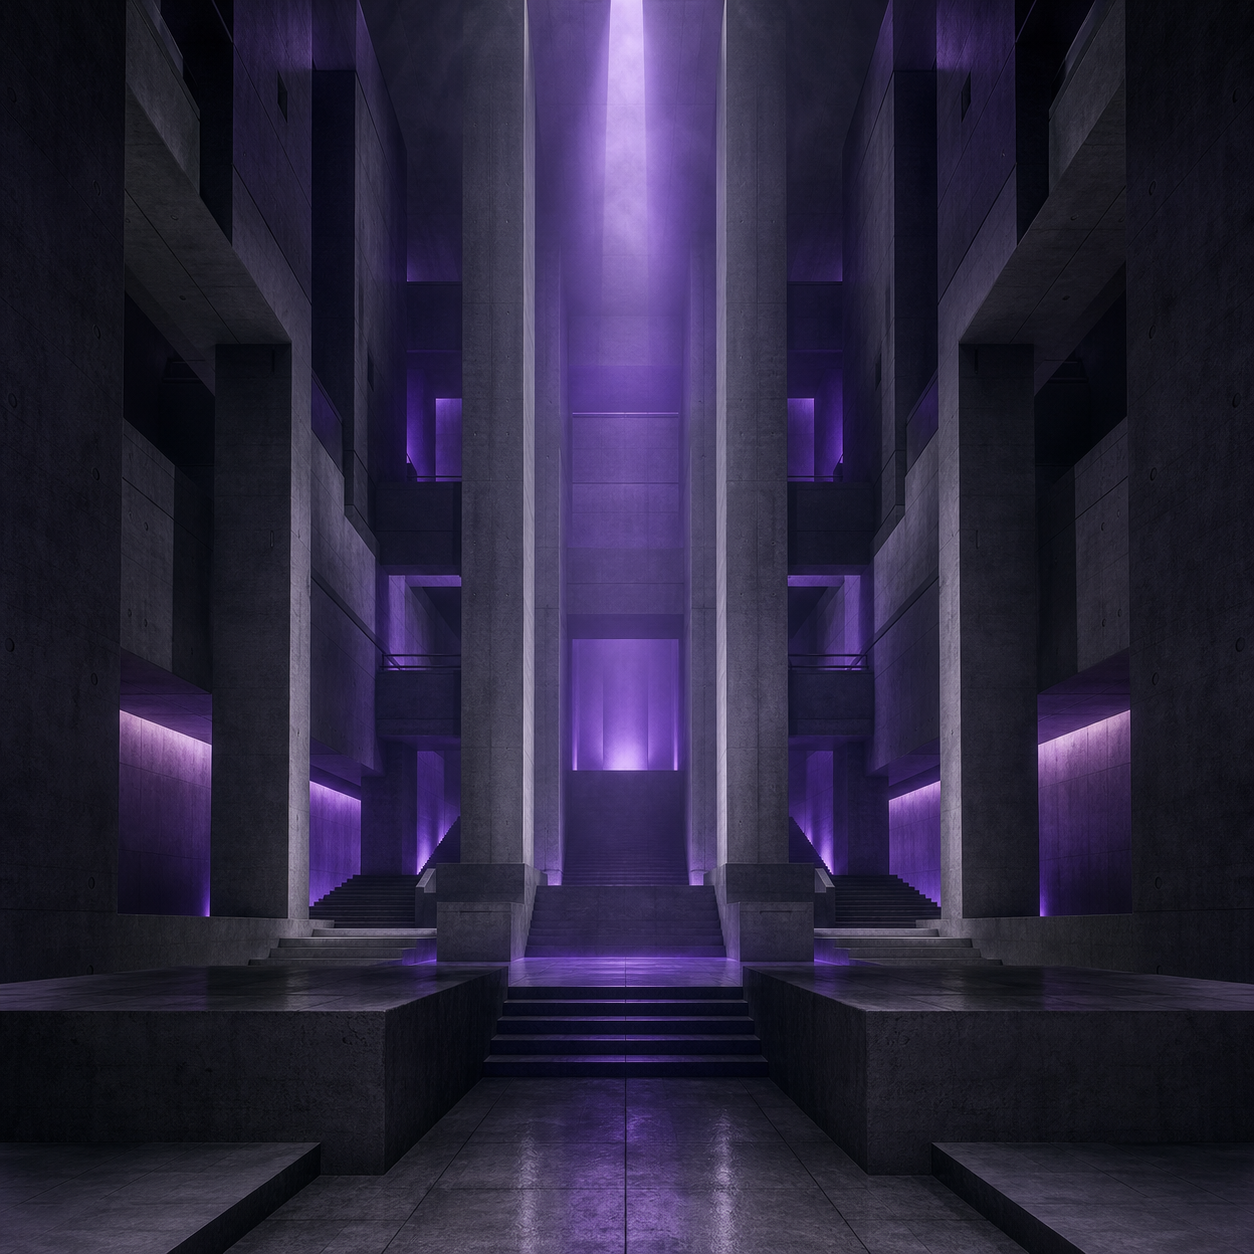 3img2img + inpaint
Refine
Run it back through img2img at a low denoise to raise coherence, and inpaint the parts that broke — usually edges, hands, and anything with text.
Watch out: Denoising too hard and losing the frame you liked. Small steps, compare often.
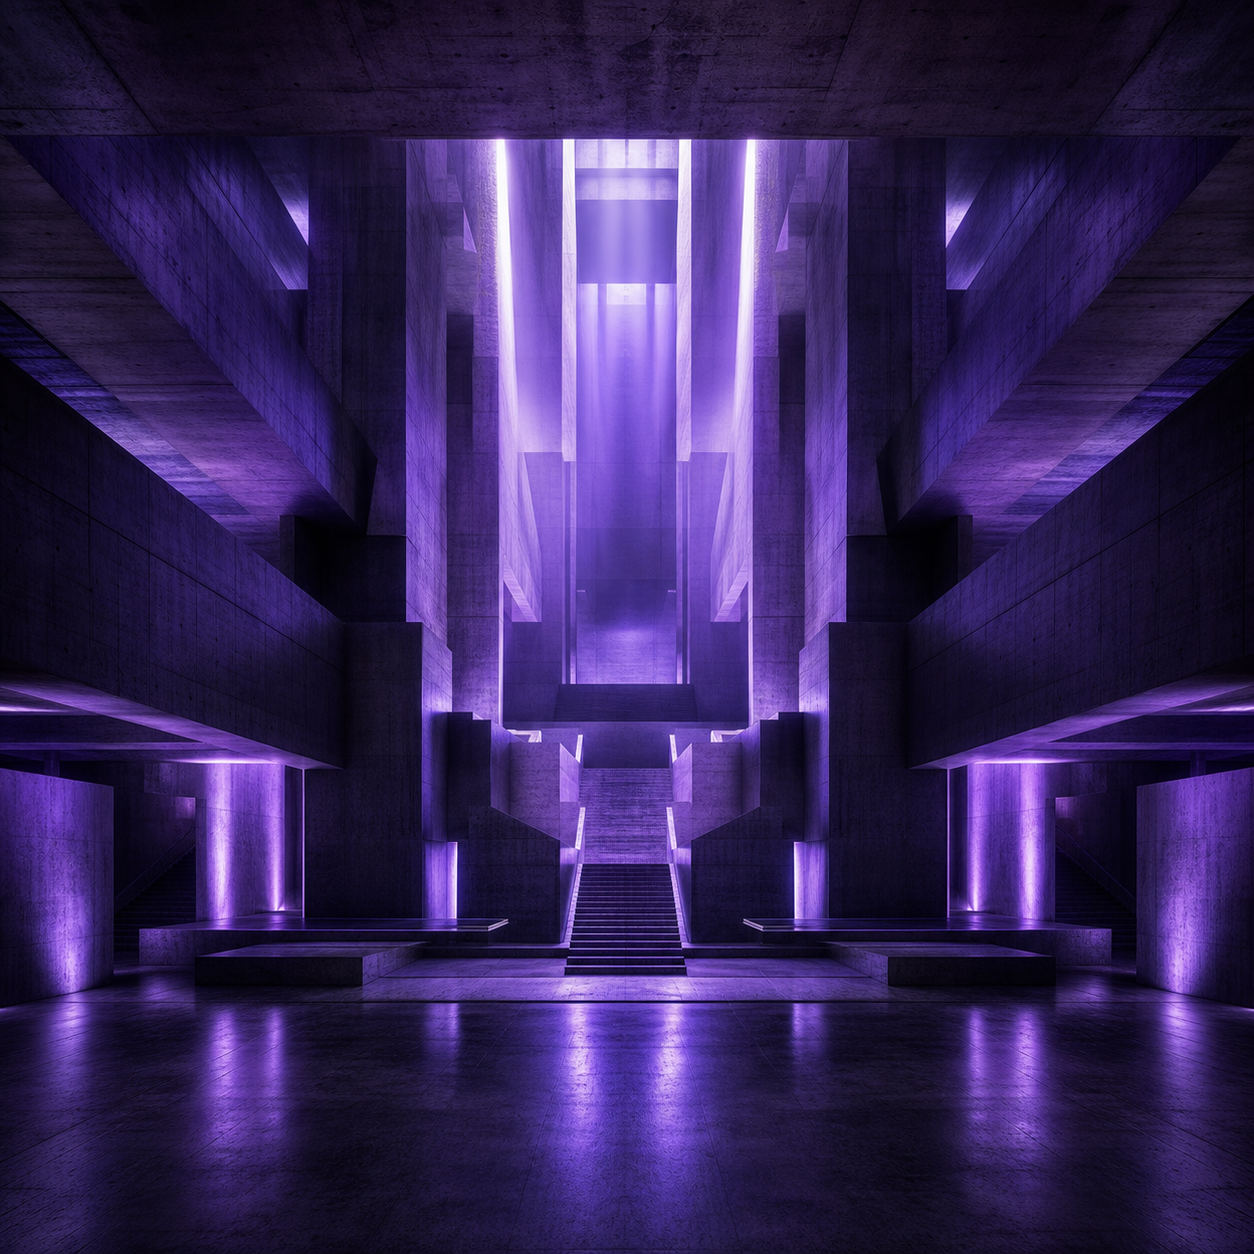 4Ultimate SD Upscale
Upscale
Push to delivery resolution with a tiled upscaler so textures sharpen without inventing new detail in the wrong places.
Watch out: A single giant upscale — it hallucinates. Tile it, and keep the added detail low.
 5Photoshop
Finish by hand
Bring it into a real editor. Colour grade, fix the last artifacts, and make the deliberate choices the model can't. This is where a render becomes a piece.
Watch out: Shipping the raw render. The finishing pass is the difference between 'looks AI' and 'looks made'.
See this method on the finished work, and the full treatment in the book.